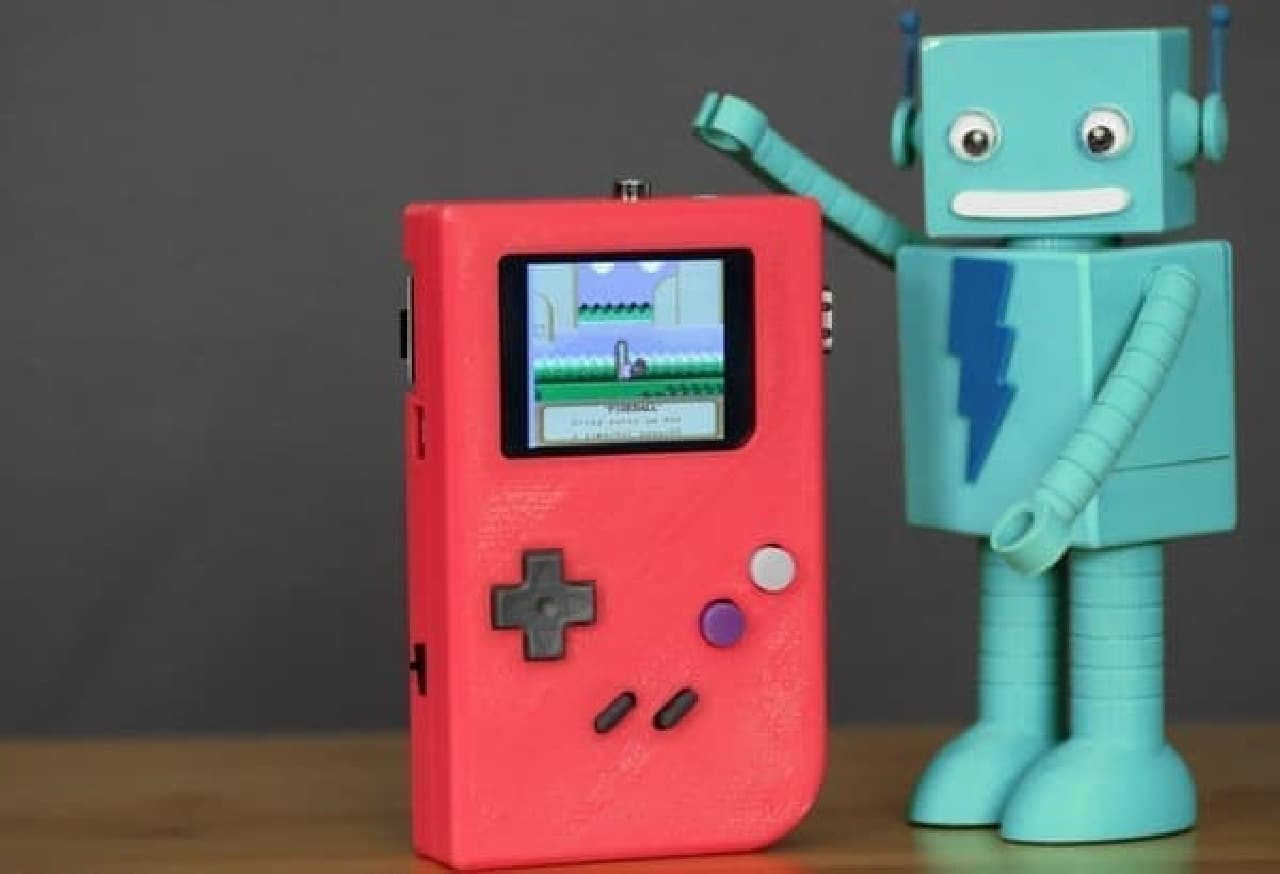
Reminding me of my passion at that time is "DIY Raspberry Pi Gameboy " released by the electronic device DIY and sales site "adafruit" to commemorate the 25th anniversary of Game Boy. Learn how to assemble a Game Boy-style handheld game console using a 3D printer or a Raspberry Pi.
How about for adult independent study?
Necessary parts are the main body case output by the 3D printer, Raspberry Pi Model B, lithium battery, game console controller, etc.
[Necessary parts other than the main body case]
・ Raspberry Pi Model B
・ PiTFT Mini Kit
・ GPIO Pi Cable
・ PowerBoost 500
・ Micro Lipo Charger
・ SNES Controller
・ 2200mAh lithium cylindrical battery

controller?
The controller seems to disassemble and use the printed circuit board and buttons inside.

Take out the board from the controller
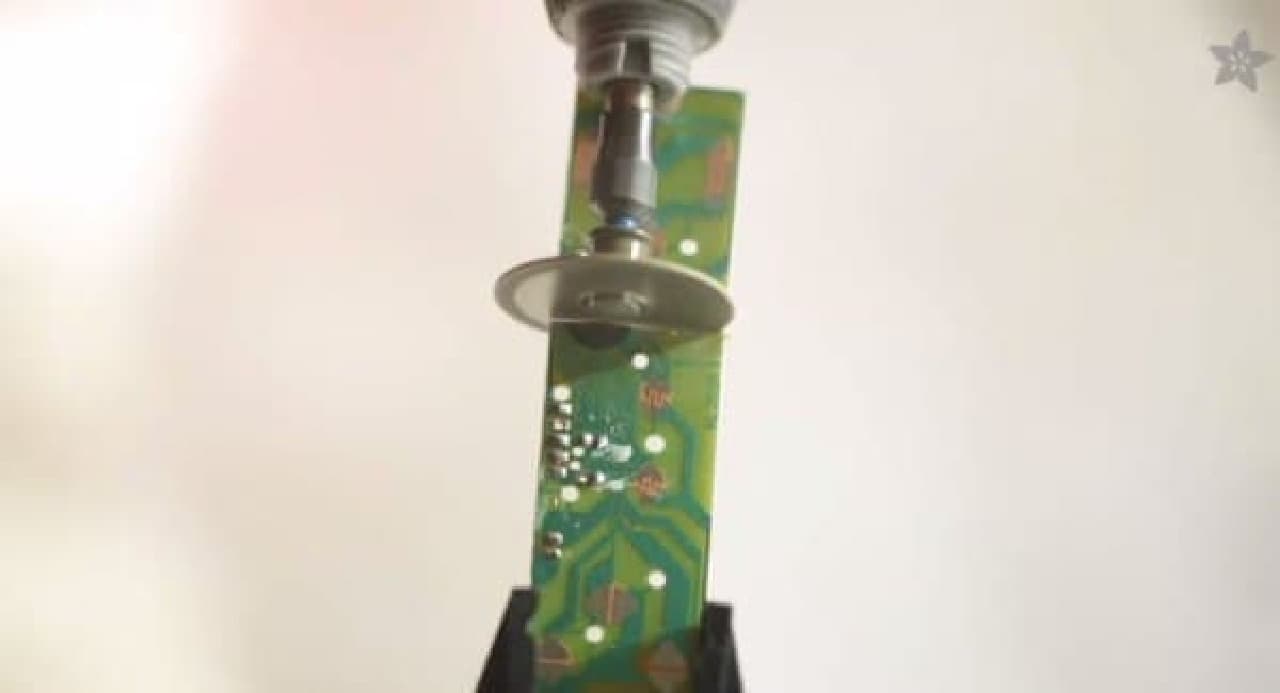
Finely cut and quite hard!
You can refer to adafruit for how to assemble and program, and you can purchase all the necessary parts. The 3D data for the console can be downloaded from the 3D printing community "Thingiverse".
Is it cheaper to buy considering the material cost and labor? ... No, this is the real thrill of DIY, isn't it?
* All image sources are adafruit
![[Christmas] Give the fun of "making your own"-DIY kit for children from overseas](https://image.enuchi.jp/upload/articles/2220/7e17b1f5cf09534fdd5684eb8aee58cd_special.jpg)